
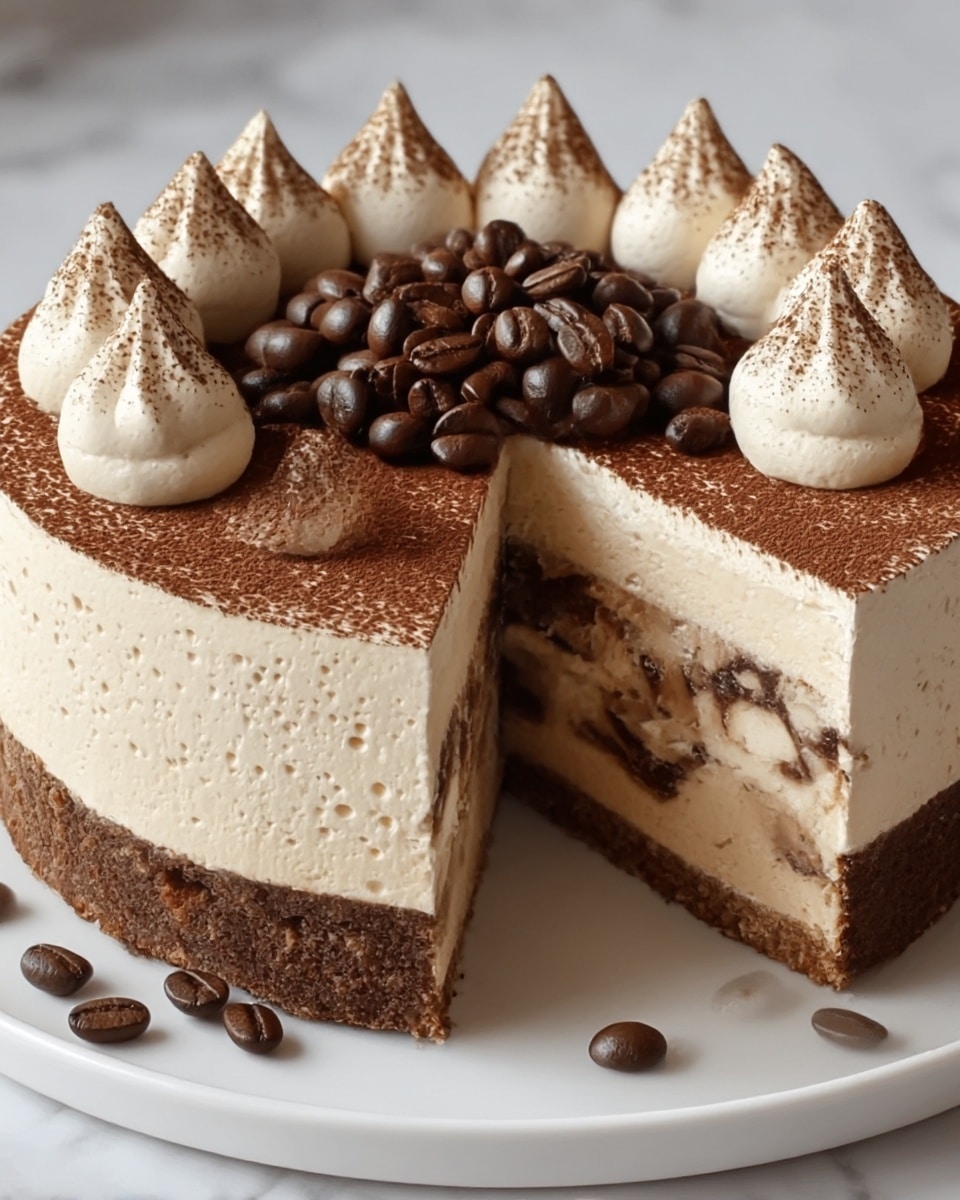
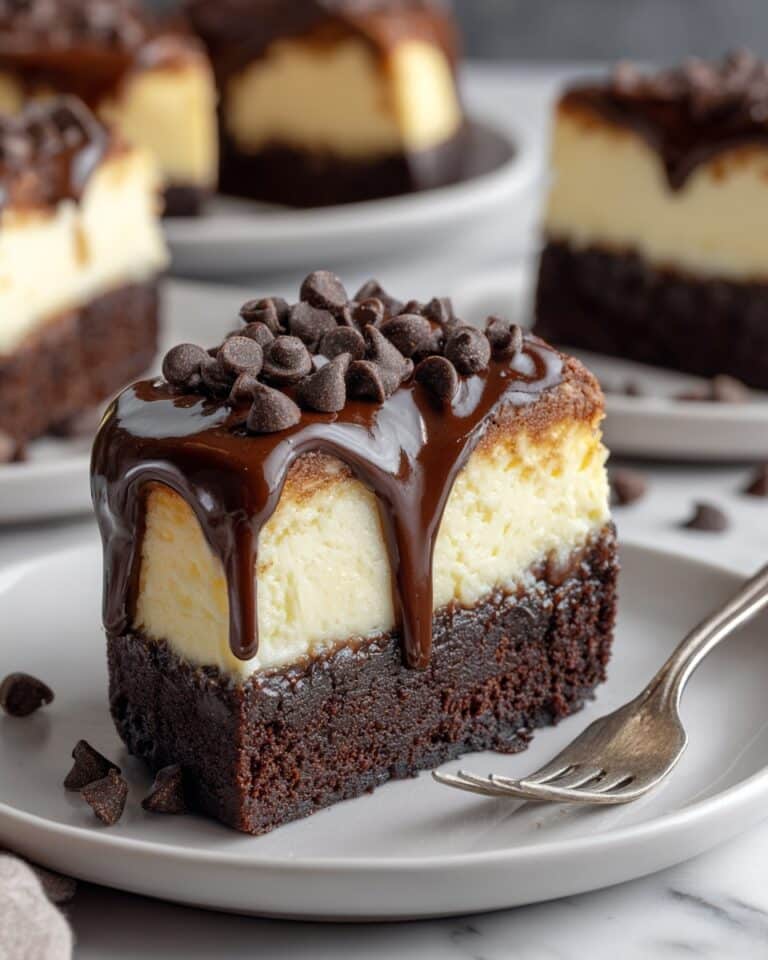
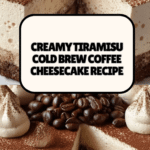
Tiramisu Cold Brew Coffee Cheesecake Recipe
Introduction
This Tiramisu Cold Brew Coffee Cheesecake is a delightful fusion of classic tiramisu flavors and creamy cheesecake texture. Infused with bold cold brew coffee and layered with ladyfingers, it’s a luscious dessert perfect for coffee lovers. Easy to make and impressively delicious, it’s sure to become a favorite treat.

Ingredients
- 1.5 cups graham cracker crumbs or crushed biscotti
- 6 tbsp unsalted butter, melted
- 16 oz cream cheese, softened
- 0.75 cup powdered sugar
- 1 cup cold brew coffee, strongly brewed
- 1 tsp vanilla extract
- 1.5 cups heavy whipping cream, cold
- 12 pieces ladyfingers, cut in half
- 2 tbsp unsweetened cocoa powder for dusting
Instructions
- Step 1: Combine graham cracker crumbs or crushed biscotti with melted butter. Press the mixture firmly into the bottom of a 9-inch springform pan and refrigerate for 10 minutes to set the crust.
- Step 2: Beat the softened cream cheese and powdered sugar until smooth and creamy. Mix in the vanilla extract and 1/2 cup of the cold brew coffee.
- Step 3: In a separate bowl, whip the cold heavy cream until stiff peaks form. Gently fold the whipped cream into the cream cheese mixture to keep it light and airy.
- Step 4: Quickly dip each ladyfinger half into the remaining 1/2 cup of cold brew coffee, making sure not to soak them too long to avoid sogginess. Layer the dipped ladyfingers evenly over the chilled crust.
- Step 5: Spread the cheesecake mixture evenly over the ladyfinger layer, smoothing the top with a spatula.
- Step 6: Cover the pan and refrigerate the cheesecake for at least 4 hours, or until firm and well set.
- Step 7: Before serving, dust the top with unsweetened cocoa powder. Slice and enjoy the cheesecake chilled.
Tips & Variations
- Be careful not to soak the ladyfingers too long, as they can become overly soggy and affect the texture of the cheesecake.
- Chilling the cheesecake for at least 4 hours is key to achieving the best creamy texture and flavor melding.
- For an extra coffee kick, try adding a tablespoon of coffee liqueur to the cold brew coffee used for dipping the ladyfingers.
- Substitute graham cracker crumbs with crushed biscotti for a more authentic tiramisu crunch.
Storage
Store the cheesecake covered in the refrigerator for up to 3 days. Keep it well wrapped to prevent it from absorbing other fridge odors. When ready to serve again, enjoy it chilled—no reheating needed as it’s best served cold.
How to Serve
Serve this delicious recipe with your favorite sides.
FAQs
Can I use instant coffee instead of cold brew coffee?
While instant coffee can be used in a pinch, cold brew coffee provides a smoother, less bitter flavor that better complements the creamy cheesecake and ladyfingers.
How long can I keep the cheesecake in the fridge?
This cheesecake is best eaten within 3 days when stored properly in the refrigerator. Beyond that, the ladyfingers may lose their texture and the overall quality may decline.
Print
Tiramisu Cold Brew Coffee Cheesecake Recipe
- Total Time: 4 hours 20 minutes
- Yield: 8 servings 1x
Description
This Tiramisu Cold Brew Coffee Cheesecake recipe combines the rich creaminess of classic cheesecake with the bold flavor of cold brew coffee and the iconic Italian dessert tiramisu. Featuring a buttery graham cracker crust, layers of coffee-soaked ladyfingers, and a luscious coffee cream cheese filling, this no-bake cheesecake is perfect for coffee lovers seeking a refreshing and indulgent treat.
Ingredients
Crust
- 1.5 cups graham cracker crumbs or crushed biscotti
- 6 tbsp unsalted butter, melted
Cheesecake Filling
- 16 oz cream cheese, softened
- 0.75 cup powdered sugar
- 1 tsp vanilla extract
- 1 cup cold brew coffee, strongly brewed (divided into ½ cup and ½ cup)
- 1.5 cups heavy whipping cream, cold
Assembly
- 12 pieces ladyfingers, cut in half
- 2 tbsp unsweetened cocoa powder, for dusting
Instructions
- Prepare the crust: Combine the graham cracker crumbs or crushed biscotti with melted butter, mixing thoroughly until the crumbs are evenly coated. Press the mixture firmly into the bottom of a 9-inch springform pan to form an even crust layer. Refrigerate for 10 minutes to set and harden, ensuring a sturdy base for the cheesecake.
- Make the cream cheese filling: In a mixing bowl, beat the softened cream cheese and powdered sugar until the mixture is smooth and creamy. Add the vanilla extract and ½ cup of the cold brew coffee, blending well to incorporate a rich coffee flavor throughout the filling.
- Whip the cream: In a separate chilled bowl, whip the cold heavy whipping cream until stiff peaks form, indicating it is light and airy. Gently fold the whipped cream into the cream cheese mixture, being careful not to deflate the mixture, to keep the filling light and creamy.
- Prepare ladyfinger layer: Briefly dip each half piece of ladyfinger into the remaining ½ cup of cold brew coffee, just long enough to moisten without becoming soggy. Arrange the soaked ladyfingers evenly over the chilled crust, creating a coffee-infused layer that complements the creamy filling.
- Assemble the cheesecake: Spread the prepared cream cheese and whipped cream mixture evenly over the layer of ladyfingers, smoothing the top with a spatula. Cover the assembled cheesecake with plastic wrap or a lid to protect it during chilling.
- Chill and set: Refrigerate the cheesecake for at least 4 hours, or preferably overnight, so it sets firmly and the flavors meld beautifully. This chilling step is essential for achieving the ideal texture and taste.
- Finish and serve: Just before serving, dust the top of the cheesecake with unsweetened cocoa powder using a fine sieve or sifter for an elegant finish. Slice the chilled cheesecake and serve immediately for the best taste and texture experience.
Notes
- Do not soak the ladyfingers for too long to avoid making them too soggy and compromising the texture.
- Letting the cheesecake chill for at least 4 hours ensures the best creamy and firm texture.
- For a stronger coffee flavor, consider adding a splash of coffee liqueur to the cold brew coffee used for soaking ladyfingers.
- This no-bake cheesecake is best served chilled and consumed within 2-3 days for freshness.
- Prep Time: 20 minutes
- Cook Time: 0 minutes
- Category: Dessert
- Method: No-Cook
- Cuisine: Italian-American
Keywords: Tiramisu cheesecake, cold brew coffee cheesecake, no-bake cheesecake, coffee dessert, Italian dessert