
Peppermint Brownie Cookies Recipe
Introduction
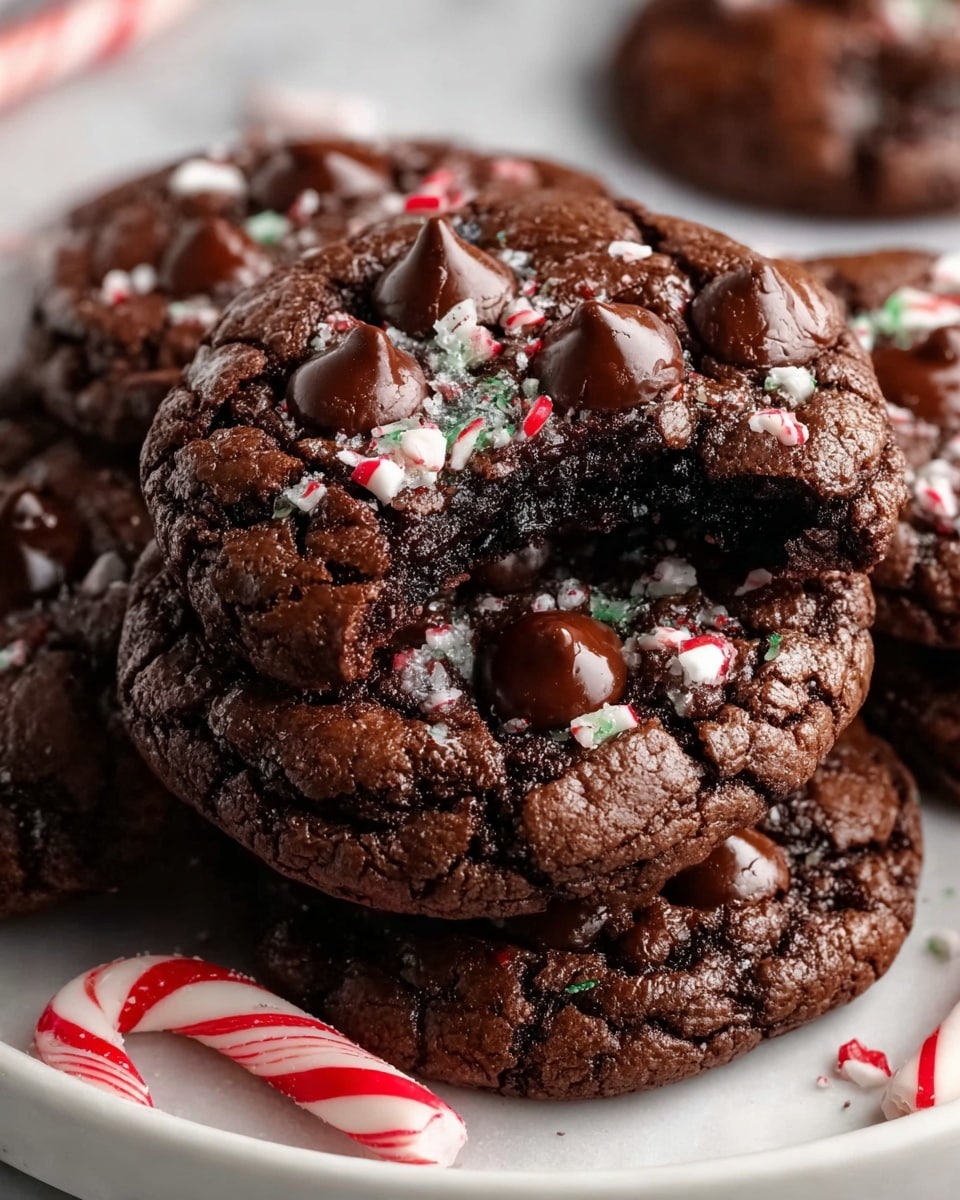
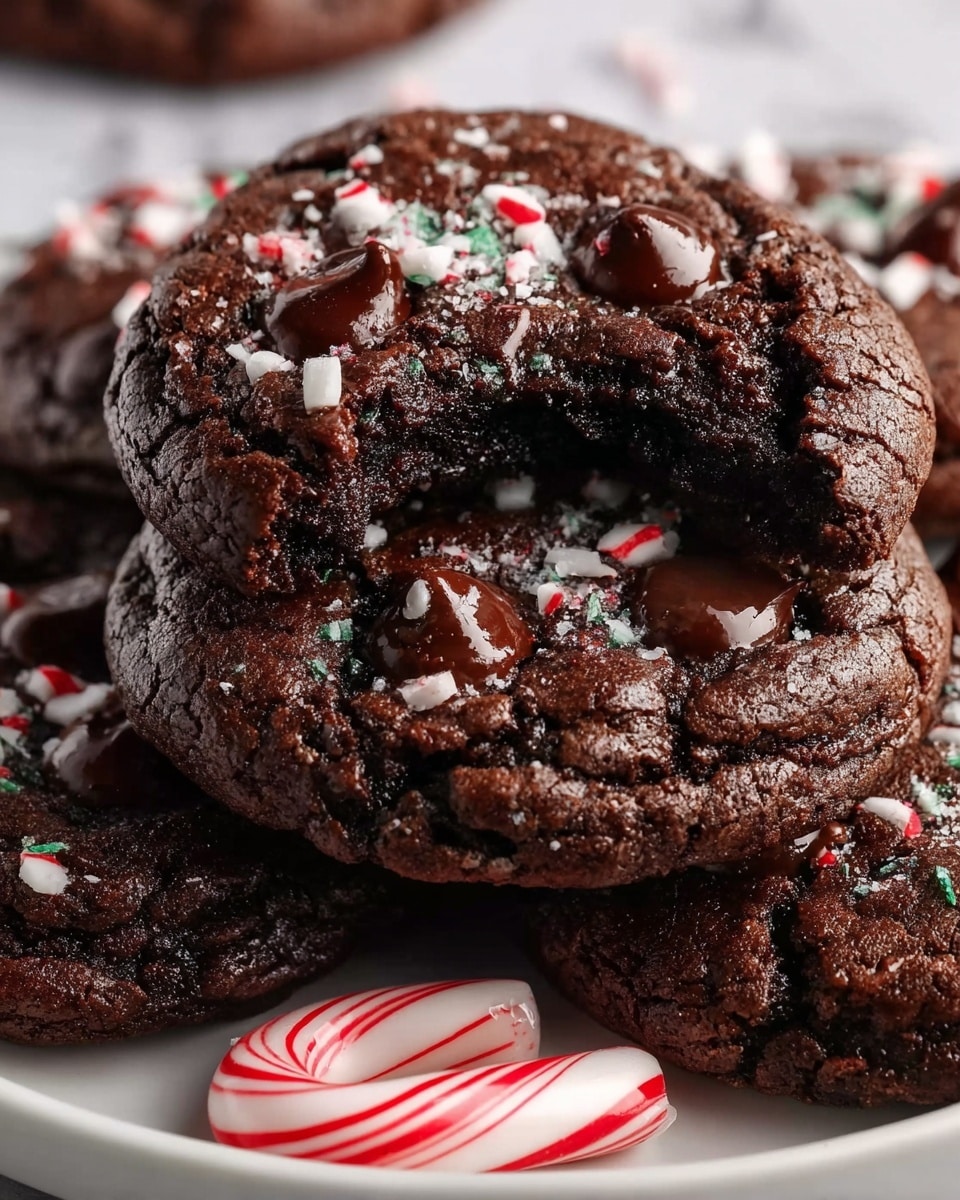
Peppermint Brownie Cookies combine the rich, fudgy texture of brownies with the festive crunch and refreshing flavor of peppermint. These chewy cookies are perfect for holiday gatherings or any time you want a decadent treat with a minty twist.
Ingredients
- 1 cup all-purpose flour
- ½ cup unsweetened cocoa powder
- ½ teaspoon baking powder
- ¼ teaspoon salt
- ½ cup unsalted butter, melted
- 1 cup granulated sugar
- ½ cup brown sugar, packed
- 2 large eggs
- 1 teaspoon vanilla extract
- ½ teaspoon peppermint extract
- ¾ cup semi-sweet chocolate chips
- ¼ cup crushed candy canes or peppermint candies
Instructions
- Step 1: Preheat your oven to 350°F (175°C) and position a rack in the center. Line a baking sheet with parchment paper or a silicone baking mat.
- Step 2: In a medium bowl, whisk together the flour, cocoa powder, baking powder, and salt until evenly combined. Sifting the cocoa powder beforehand helps prevent lumps and results in a smoother batter.
- Step 3: In a large bowl, let the melted butter cool for a minute or two. Add the granulated and brown sugars, then stir or beat for about 60 seconds until the mixture is glossy and most sugar has dissolved.
- Step 4: Add the eggs one at a time, mixing well after each addition until smooth. Stir in the vanilla and peppermint extracts. Taste the batter carefully to check the peppermint strength, as it can be strong.
- Step 5: Add the dry ingredient mixture to the wet ingredients in two batches, folding gently with a spatula until just combined. Avoid overmixing to keep the cookies fudgy rather than cakey.
- Step 6: Fold in the chocolate chips evenly throughout the dough.
- Step 7: For thicker, fudgier cookies, cover and chill the dough for 20–30 minutes. This step is optional but helps prevent spreading.
- Step 8: Using a 2-tablespoon cookie scoop or a rounded tablespoon, drop dough onto the prepared baking sheet about 2 inches apart. Lightly press extra chocolate chips and sprinkle crushed candy canes on top so they stick during baking.
- Step 9: Bake for 10–12 minutes. At 10 minutes, the cookies will be soft and fudgy in the center; at 12 minutes, they will be slightly more set with a bit of cakey texture. Look for cracked tops and set edges while the centers remain slightly underbaked.
- Step 10: Let the cookies cool on the baking sheet for 5 minutes to firm up, then transfer to a wire rack to cool completely.
Tips & Variations
- Use a hand mixer on low speed to cream the sugars and butter for a silkier texture, or whisk vigorously by hand for a rustic feel.
- Try substituting the semi-sweet chocolate chips with dark or white chocolate for a different flavor twist.
- Chilling the dough helps control spreading and enhances the fudgy texture, but you can skip this step if short on time.
- For extra peppermint flavor, add a few drops of peppermint extract to the melted butter before mixing in the sugars.
Storage
Store cooled cookies in an airtight container at room temperature for up to 4 days, layering with parchment paper to prevent sticking. To freeze, flash-freeze baked cookies on a tray, then transfer to a freezer bag for up to 3 months. You can also freeze scooped raw dough after flash-freezing and bake from frozen—just add 1–2 minutes to the baking time.
How to Serve
Serve this delicious recipe with your favorite sides.
FAQs
Can I use peppermint oil instead of peppermint extract?
Peppermint oil is much more concentrated than extract, so if using it, start with a very small amount—just a drop or two—and adjust to taste to avoid overpowering the cookies.
Why should I avoid overmixing the dough?
Overmixing develops gluten in the flour, which can make the cookies cakier instead of fudgy. Folding until just combined keeps the texture chewy and brownie-like, which is key for this recipe.
Print
Peppermint Brownie Cookies Recipe
- Total Time: 25-27 minutes
- Yield: About 24 cookies 1x
Description
These Peppermint Brownie Cookies combine the rich, fudgy texture of brownies with the festive, refreshing flavor of peppermint. Loaded with semi-sweet chocolate chips and topped with crushed candy canes, they’re perfect for holiday celebrations or anytime you crave a chewy, chocolatey treat with a hint of mint.
Ingredients
Dry Ingredients
- 1 cup all-purpose flour
- ½ cup unsweetened cocoa powder
- ½ teaspoon baking powder
- ¼ teaspoon salt
Wet Ingredients
- ½ cup unsalted butter, melted
- 1 cup granulated sugar
- ½ cup brown sugar, packed
- 2 large eggs
- 1 teaspoon vanilla extract
- ½ teaspoon peppermint extract
Add-ins & Toppings
- ¾ cup semi-sweet chocolate chips
- ¼ cup crushed candy canes or peppermint candies
Instructions
- Prep — heat the oven and get set: Preheat your oven to 350°F (175°C) and position a rack in the center. Line a baking sheet with parchment paper or a silicone baking mat. If you plan to chill the dough, set aside a small plate or tray for the dough balls.
- Mix the dry ingredients: In a medium bowl, combine the all-purpose flour, unsweetened cocoa powder, baking powder, and salt. Whisk together until evenly combined with no visible streaks. For smoother batter, sift the cocoa powder if it’s lumpy and whisk continuously to prevent lumps.
- Mix the wet ingredients: In a large bowl, pour the melted unsalted butter and let it cool slightly for 1–2 minutes to avoid scrambling the eggs. Add granulated sugar and brown sugar, stirring or beating for about 60 seconds until the mixture is glossy and the sugar is mostly dissolved. Add the eggs one at a time, mixing well after each addition until the batter is smooth. Stir in the vanilla extract and peppermint extract. Taste a tiny bit for peppermint intensity – it’s strong, so use sparingly.
- Combine wet and dry mixtures to form dough: Add the dry ingredients to the wet mixture in two additions, gently folding with a spatula until just combined. Stop when no streaks of flour remain. Fold in the semi-sweet chocolate chips until evenly distributed. Be careful not to overmix to keep the cookies fudgy rather than cakey.
- Optional chill for tighter, fudgier cookies: Cover the dough and chill for 20–30 minutes if you prefer thicker, fudgier cookies. Chilling firms the butter and limits spreading. If short on time, you can skip chilling; cookies will spread more but remain delicious.
- Portion and decorate: Use a 2-tablespoon cookie scoop (or rounded tablespoon for smaller cookies) to portion dough onto the prepared baking sheet about 2 inches apart. Gently press additional chocolate chips on top of each dough mound and sprinkle crushed candy canes to adhere during baking.
- Bake for desired texture: Bake on the center rack for 10–12 minutes. At 10 minutes, cookies will be soft and fudgy in the center (recommended). At 12 minutes, they will be more set and slightly cakier. Look for slightly cracked tops and set edges; centers should still appear slightly underbaked. Remove cookies while centers are still soft—they will finish setting on the hot baking sheet for a gooey texture.
- Cool and store: Let cookies cool on the baking sheet for 5 minutes to firm up, then transfer to a wire rack to cool completely. Store cooled cookies in an airtight container at room temperature for up to 4 days, layering with parchment paper to avoid sticking. To freeze, flash-freeze baked cookies on a tray, then transfer to a freezer bag for up to 3 months. Raw dough can also be flash-frozen in scoops and baked from frozen, adding 1–2 minutes to bake time.
Notes
- Use a hand mixer on low speed for the sugar and butter step for a silkier texture, or whisk vigorously by hand if preferred.
- Sifting cocoa powder helps avoid lumps and creates a smoother batter.
- Don’t overmix after adding dry ingredients to maintain fudgy texture.
- Chilling dough is optional but recommended for thicker, less spread-out cookies.
- Remove cookies from oven slightly underbaked to keep them gooey and soft inside.
- Store cookies layered with parchment paper to prevent sticking.
- Cookies freeze well both baked and raw for convenient future baking or snacking.
- Prep Time: 15 minutes
- Cook Time: 10-12 minutes
- Category: Dessert
- Method: Baking
- Cuisine: American
Keywords: Peppermint Brownie Cookies, Chocolate Peppermint Cookies, Holiday Cookies, Fudgy Cookies, Peppermint Chocolate Chip Cookies
