
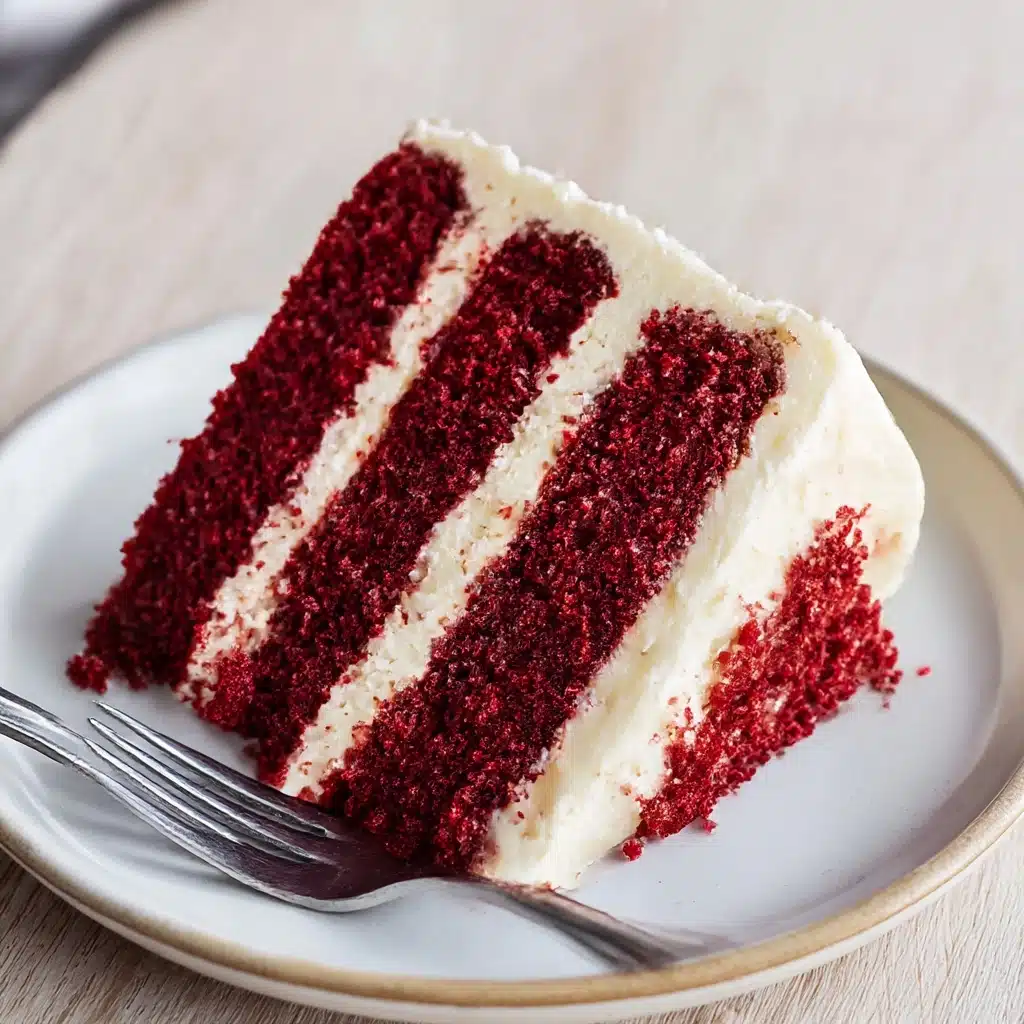
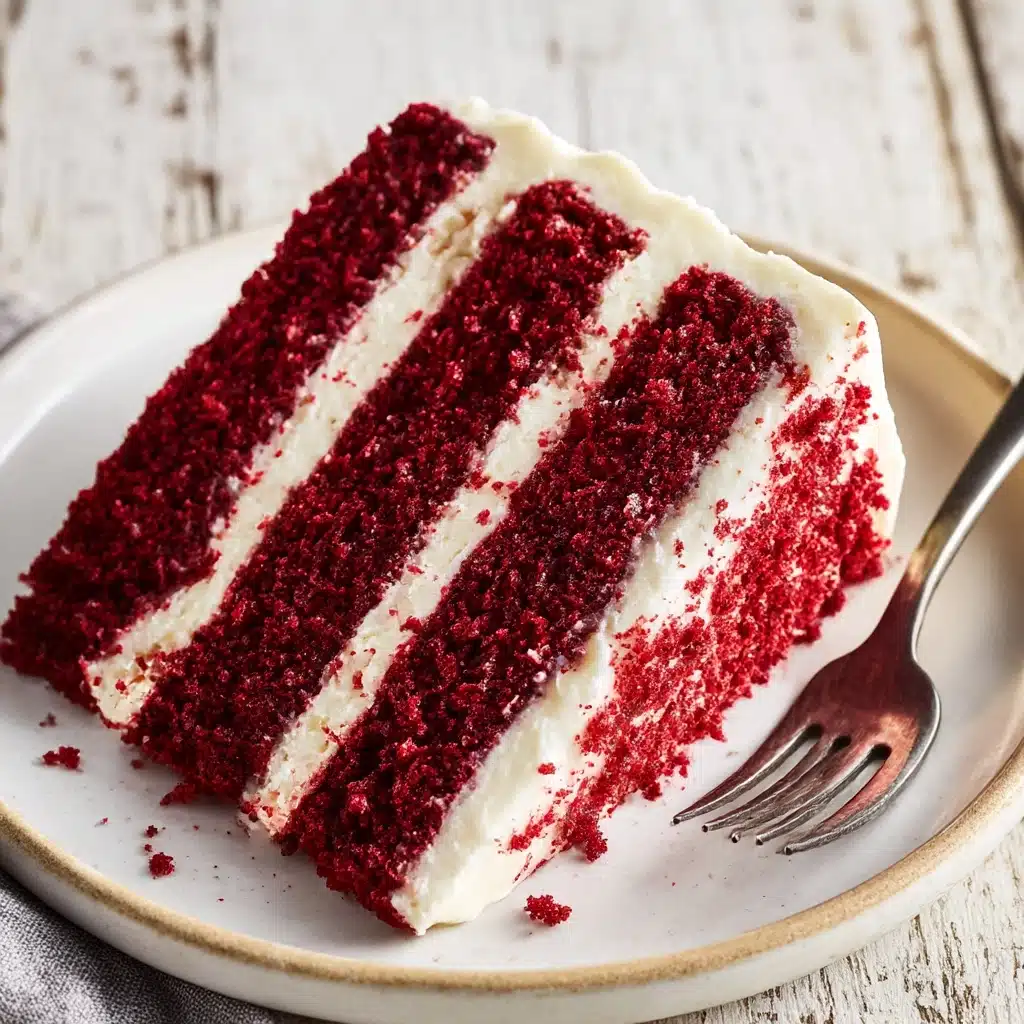
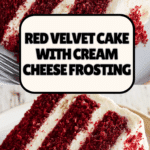
Classic Red Velvet Cake Recipe
If you’ve ever dreamed of creating a stunning, moist, and delightfully rich cake that steals the show at every gathering, this Classic Red Velvet Cake recipe is your golden ticket. Bursting with the perfect balance of cocoa undertones and that iconic red hue, this recipe lays out clear Step-by-Step Instructions to help you bake a flawless cake from start to finish. Whether you’re an experienced baker or trying your hand at red velvet for the first time, these instructions will guide you confidently through every stage, making the baking process as joyful as the taste of the final slice.
Ingredients You’ll Need
Nothing fancy here, just simple, pantry-friendly ingredients that come together to create that luxurious texture and unforgettable flavor. Each plays a key role—from the tender crumb created by the buttermilk to the vibrant color and luscious taste delivered by the cocoa powder and food coloring.
- All-purpose flour (2 1/2 cups): Provides structure and the perfect foundation for your cake layers.
- Granulated sugar (1 1/2 cups): Sweetens the cake and helps create a tender crumb.
- Cocoa powder for red velvet (2-3 tablespoons): Offers a subtle chocolate undertone without overpowering the flavor.
- Buttermilk (1 cup): Adds moisture and a slight tang that enhances depth of flavor.
- Vegetable oil (1/2 cup): Keeps the cake moist and soft.
- Large eggs (2): Bind ingredients and provide richness.
- Red food coloring (2 tablespoons): Creates that signature, eye-catching red color.
- Vanilla extract (1 teaspoon): Adds warmth and rounds out the flavors beautifully.
- White vinegar (1 teaspoon): Reacts with baking soda to help the cake rise and stay tender.
- Baking soda (1 teaspoon): Leavens the cake for a light and fluffy texture.
How to Make Step-by-Step Instructions
Step 1: Preparing Your Baking Equipment
Before mixing any ingredients, gather your two 9-inch round cake pans, electric mixer, mixing bowls, measuring tools, and cooling rack. Lightly grease your pans and dust with flour to ensure the cake releases perfectly after baking. This preparation sets the stage for smooth baking and effortless cleanup.
Step 2: Mixing the Batter
The secret to this recipe lies in carefully following these Step-by-Step Instructions. Begin by bringing all your ingredients to room temperature—this keeps the batter smooth and well-incorporated. Sift together your flour, cocoa powder, and a pinch of salt to avoid lumps. In a separate bowl, combine granulated sugar with vegetable oil until lightly blended. Beat in eggs one at a time, followed by vanilla extract. Alternate adding your dry ingredients with the buttermilk, starting and ending with dry ingredients for the best texture. Then, stir in the red food coloring until your batter boasts that vibrant, irresistible hue.
Step 3: Baking
Preheat your oven to 350°F and split your batter evenly between the prepared pans. Bake for 25 to 30 minutes, testing doneness with a toothpick inserted into the middle—it should come out clean or with moist crumbs, never wet batter. After baking, let the cakes cool in the pans for 10 minutes before transferring them to a wire rack to cool completely. Patience here ensures the frosting will adhere perfectly without melting or sliding.
Step 4: Making Cream Cheese Frosting
Now, onto the luscious cream cheese frosting that truly elevates your red velvet masterpiece. Beat together softened cream cheese and butter until silky smooth. Gradually add powdered sugar while mixing on low speed, then blend in vanilla extract and a pinch of salt. This Step-by-Step Instruction ensures your frosting is fluffy, creamy, and easy to spread without overpowering the cake’s delicate flavors.
Step 5: Assembling the Cake
Level each cake layer using a serrated knife to ensure an even stack. Place the first layer on your cake stand or plate, and spread a generous layer of frosting over the top. Carefully stack the second layer and gently press down to adhere. Apply a thin crumb coat and chill for 15 minutes to lock in crumbs. Finish by frosting the entire cake smoothly or with decorative rosettes using a piping bag. For a bakery-quality finish, dip your spatula in warm water between strokes.
How to Serve Step-by-Step Instructions
Garnishes
Garnishing your cake not only adds charm but complements its flavor. Fresh raspberries, edible rose petals, or a light dusting of cocoa powder make delightful toppings that enhance the classic red velvet experience beautifully.
Side Dishes
Pair your red velvet cake with a scoop of vanilla ice cream, a dollop of whipped cream, or even a hot espresso to balance the sweetness and add texture contrasts. These sides elevate each bite and make for an indulgent dessert moment.
Creative Ways to Present
Elevate your serving presentation by placing the cake on a vintage cake stand for a classic look, or slice into neat rectangles for a modern twist. Adding gold leaf or piping additional frosting designs can turn your cake into a centerpiece worthy of any celebration.
Make Ahead and Storage
Storing Leftovers
After enjoying your cake, wrap leftover slices tightly in plastic wrap and store them in an airtight container at room temperature for up to three days. This helps retain moisture and flavor without drying out the cake.
Freezing
If you want to save your red velvet cake for later, it freezes beautifully. Wrap individual layers or slices in plastic wrap, then place them in freezer-safe bags or containers. Frozen cake can last up to two months without losing quality. When ready to enjoy, thaw overnight in the refrigerator for best results.
Reheating
To revive the softness, let the cake warm to room temperature before serving. Avoid microwaving as it can dry out the texture. Instead, serve your thawed cake alongside a warm drink for an inviting experience.
FAQs
Can I use regular cocoa powder instead of red velvet cocoa powder?
Yes, but make sure it is high-quality unsweetened cocoa powder to get the right subtle chocolate flavor without bitterness. The cocoa contributes to the cake’s signature taste and rich color when combined with red food coloring.
Why is my red velvet cake crumbly?
Too much flour or overmixing can cause crumbly texture. Follow the Step-by-Step Instructions carefully, and always measure flour accurately. Also, using room temperature ingredients helps batter integrate evenly.
How do I know when the cake is done baking?
The classic test is to insert a toothpick into the cake’s center. If it comes out clean or with a few moist crumbs, your cake is perfectly baked. Avoid opening the oven door too often, which can cause uneven baking.
Can I make this cake without red food coloring?
While the vibrant red is iconic, you can omit the coloring if preferred, but your cake will be a muted brownish-red due to the cocoa powder. For the full traditional effect, adding food coloring is recommended.
How should I serve the cake to highlight its flavors?
Serve at room temperature after chilling your frosted cake in the fridge. This enhances the velvety texture and lets the cream cheese frosting shine with its rich tang balanced against the subtle cocoa flavor.
Final Thoughts
There’s nothing quite like pulling together this Classic Red Velvet Cake recipe with the detailed Step-by-Step Instructions to create a dessert that not only tastes incredible but feels like a true labor of love. Once you try these instructions and see your perfect cake come to life, you’ll find it becomes a treasured recipe to share with family and friends. Go ahead and give it a try—your next baking adventure is waiting!
Print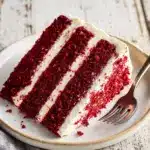
Classic Red Velvet Cake Recipe
- Total Time: 1 hour 10 minutes
- Yield: 12 servings 1x
- Diet: Vegetarian
Description
This Classic Red Velvet Cake recipe features a moist and tender cake with a subtle chocolate undertone and a vibrant red color, paired perfectly with smooth, tangy cream cheese frosting. Perfect for celebrations or any special occasion, this recipe guides you through all the essential steps and tips for baking and assembling an irresistibly delicious red velvet cake.
Ingredients
Dry Ingredients
- 2 1/2 cups all-purpose flour
- 2–3 tablespoons unsweetened cocoa powder (preferably high quality)
- 1 teaspoon baking soda
- 1/4 teaspoon salt
Wet Ingredients
- 1 cup buttermilk, at room temperature
- 1/2 cup vegetable oil
- 2 large eggs, at room temperature
- 2 tablespoons red food coloring
- 1 teaspoon vanilla extract
- 1 teaspoon white vinegar
Sugar
- 1 1/2 cups granulated sugar
Cream Cheese Frosting
- 16 oz cream cheese, softened
- 1/2 cup unsalted butter, room temperature
- 4 cups powdered sugar
- 1 teaspoon vanilla extract
- Pinch of salt
Instructions
- Prepare Baking Equipment: Preheat your oven to 350°F (175°C). Grease and flour two 9-inch round cake pans or line them with parchment paper. Gather all necessary tools such as an electric mixer, mixing bowls, measuring cups and spoons, sifter, and cooling rack.
- Sift Dry Ingredients: In a large bowl, sift together the all-purpose flour, unsweetened cocoa powder, baking soda, and salt to ensure even distribution and a light texture.
- Cream Sugar and Oil: In another large mixing bowl, combine the granulated sugar and vegetable oil. Mix until the sugar is evenly moistened and well combined.
- Add Eggs: Add the eggs one at a time to the sugar and oil mixture, beating thoroughly after each addition to incorporate air and achieve a smooth batter.
- Incorporate Wet Ingredients: Add the buttermilk, vanilla extract, red food coloring, and white vinegar to the mixture. Stir until evenly blended and the batter turns a vibrant red color.
- Mix Dry Ingredients Gradually: Gradually add the sifted dry ingredients to the wet ingredients. Mix on low speed to avoid overmixing, just until you have a smooth and consistent batter.
- Bake the Cake: Divide the batter evenly between the two prepared cake pans. Bake in the preheated oven for 25-30 minutes, or until a toothpick inserted into the center comes out clean. Avoid opening the oven door frequently to prevent collapse.
- Cool the Cakes: Remove the cake pans from the oven and allow the cakes to cool in the pans for about 10 minutes. Then transfer them onto a cooling rack to cool completely before frosting.
- Prepare Cream Cheese Frosting: In a large bowl, beat the softened cream cheese and room temperature unsalted butter together until smooth and creamy. Gradually add powdered sugar on low speed to avoid a powdery mess. Mix in vanilla extract and a pinch of salt. Beat until the frosting is smooth and spreadable.
- Level and Assemble: Using a serrated knife, level the tops of the cooled cakes to create flat surfaces. Place one cake layer on a cake stand or serving plate. Spread a generous layer of cream cheese frosting evenly on top. Carefully place the second cake layer over the first, aligning it properly.
- Crumb Coat and Frost: Apply a thin crumb coat of frosting over the entire cake to seal in crumbs. Refrigerate the cake for 15 minutes to set the crumb coat. Then, apply the remaining frosting generously, smoothing it with an offset spatula or decorate with piping as desired.
- Final Touches and Serve: Keep your frosting tools clean by dipping your spatula in hot water between smoothing passes to achieve a flawless finish. Allow the assembled cake to chill briefly before serving. For optimal taste, bring the cake to room temperature about 30 minutes before eating.
Notes
- Always use room temperature ingredients for even mixing and a smoother batter.
- High-quality unsweetened cocoa powder enhances the cake’s subtle chocolate flavor and vibrant color.
- Use fresh buttermilk and good quality red food coloring for the most vibrant and moist cake.
- Do not overmix the batter to avoid a dense texture.
- Preheat the oven and properly prepare baking pans to prevent sticking.
- Level the cake layers before frosting for a professional-looking cake.
- Apply a crumb coat to seal crumbs and achieve a clean final finish.
- Store cake in an airtight container at room temperature for up to 3 days or refrigerate to extend shelf life.
- Bring refrigerated cake to room temperature 30 minutes before serving for the best texture and flavor.
- Prep Time: 20 minutes
- Cook Time: 30 minutes
- Category: Dessert
- Method: Baking
- Cuisine: American
Nutrition
- Serving Size: 1 slice (1/12 of cake with frosting)
- Calories: 380 kcal
- Sugar: 35 g
- Sodium: 290 mg
- Fat: 22 g
- Saturated Fat: 9 g
- Unsaturated Fat: 11 g
- Trans Fat: 0 g
- Carbohydrates: 38 g
- Fiber: 1.5 g
- Protein: 4 g
- Cholesterol: 60 mg
Keywords: red velvet cake, classic red velvet, cream cheese frosting, moist cake, festive dessert, American dessert